Shopify Flow integration — automate workflows from wishlist events
Overview
Shopify Flow is Shopify’s built-in automation platform, available on all Shopify plans. When you connect it with Wishlist Club, you can create no-code workflows that react to wishlist activity automatically.
Use this integration to turn wishlist events into useful actions across your store. For example, you can tag customers, notify your team, update other apps, or trigger marketing follow-up when someone adds an item to their wishlist, removes it, or shows strong buying intent.
Wishlist Club works as a trigger app inside Shopify Flow. A wishlist event starts the workflow, and Shopify Flow handles the actions that happen next.
If Shopify Flow is not installed yet, you can add it for free from the Shopify App Store.
What you can automate
Once Wishlist Club is connected to Shopify Flow, you can use wishlist activity to automate actions such as:
Tagging customers based on shopping intent
Sending internal email or Slack alerts to your team
Starting follow-up actions in other connected apps
Sending wishlist activity into your CRM or customer tools
Flagging high-intent shoppers when a wished item drops in price or comes back in stock
Available Wishlist Club triggers in Shopify Flow
Trigger | When it happens | Example use case |
|---|---|---|
Item Added to Wishlist | A customer adds a product to their wishlist. | Tag the customer as |
Item Removed from Wishlist | A customer removes a product from their wishlist. | Remove a customer tag or log the change in your CRM. |
Price Drop on Wishlist Item | A product in a customer’s wishlist drops in price. | Alert your team or trigger a loyalty or remarketing workflow. |
Wishlist Item Low in Stock | A wished product reaches low inventory. | Tag the customer as high-intent and alert the inventory team. |
Wishlist Item Back in Stock | A wished product becomes available again. | Tag the customer and trigger a follow-up action in another app. |
Set up a workflow
In your Shopify admin, go to Apps → Shopify Flow, then select Create workflow.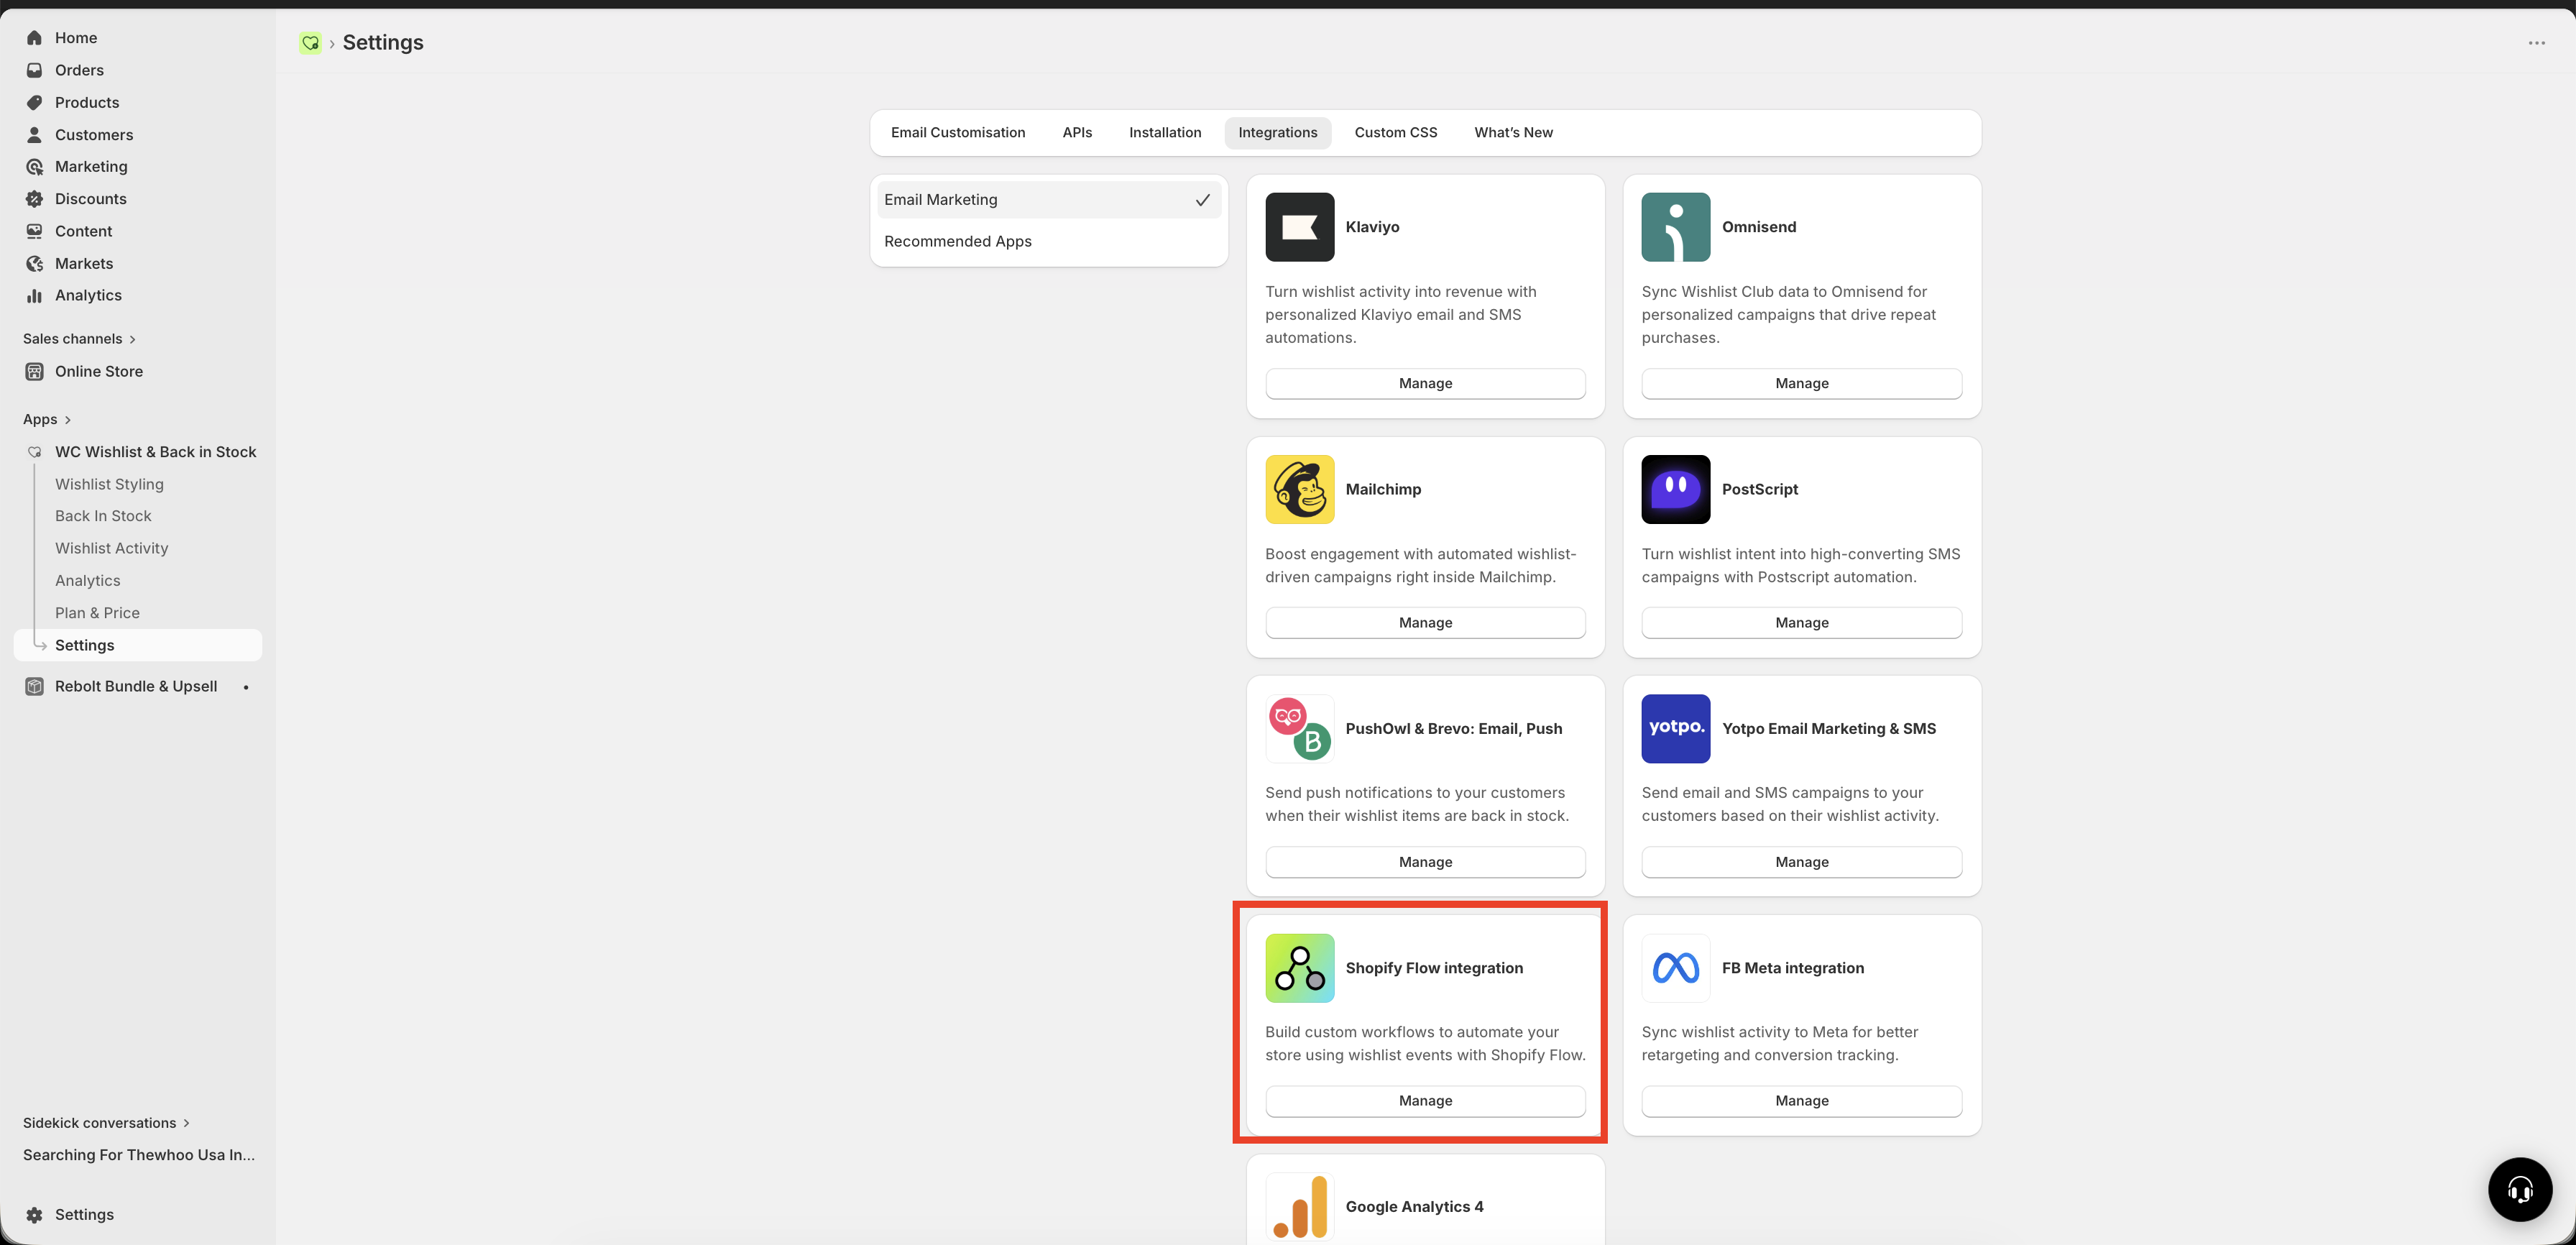
In the workflow builder, select the Trigger block. Search for Wishlist Club, then choose the wishlist event you want to use, such as Item Added to Wishlist or Wishlist Item Back in Stock.
Use conditions to narrow when the workflow should run. For example, you might only continue if the product price is above a certain amount or if the customer has placed previous orders.
Select the + icon to add one or more actions after the trigger. You can use Shopify Flow actions or actions from other installed apps.
Add a customer tag such as
wishlist-user,high-intent, orback-in-stock-interestSend an internal email or Slack notification
Update a customer record in another connected app
Create a task for your support, sales, or inventory team
Review the trigger, conditions, and actions, then enable the workflow. From that point on, Shopify Flow will run it automatically whenever the selected wishlist event happens.
Best workflows to build first
If you want to get value quickly, start with one of these common automation ideas:
Tag shoppers who use wishlists
Use the Item Added to Wishlist trigger to tag customers who show buying intent. This makes it easier to create segments in Shopify or connected marketing tools.
Alert your team when interest is high
Use Wishlist Item Low in Stock to notify your merchandising or support team when customers are interested in products that may sell out soon.
Track back-in-stock demand
Use Wishlist Item Back in Stock to identify products with returning demand and trigger follow-up actions in the tools you already use.
Spot price-sensitive shoppers
Use Price Drop on Wishlist Item to react when a wished product becomes more attractive to buy, then trigger internal alerts or downstream campaigns.
Start with a simple workflow that adds a customer tag. Once you confirm it works as expected, add more conditions and actions.
Recommended setup tips
Use clear tag names: Choose consistent tags like
wishlist-userorhigh-intentso your team can understand and reuse them easily.Keep early workflows simple: A single trigger and one action is often enough to validate your setup before building more advanced automations.
Add conditions thoughtfully: Conditions help reduce noise and make sure only the most relevant events trigger follow-up actions.
Test with a real wishlist action: Add or remove a product from a wishlist and confirm the workflow runs as expected in Shopify Flow.
Things to know before you start
Shopify Flow only runs workflows that are turned on. If you create a workflow but do not enable it, wishlist events will not trigger any actions.
The exact actions available in your workflow depend on the apps installed in your Shopify store and which apps support Shopify Flow.
Troubleshooting
Make sure Wishlist Club is installed and the Shopify Flow integration is available in your store. Then refresh Shopify Flow and try searching for Wishlist Club again in the trigger list.
Check that the workflow is turned on, the correct Wishlist Club trigger is selected, and any conditions you added are actually being met.
Review each action in the workflow, especially customer tags, conditions, and app-specific action settings. A small mismatch in conditions or action values can change the result.
Create a simple test workflow first, such as adding a customer tag when an item is added to a wishlist. Then perform that exact wishlist action in your storefront and confirm the result in Shopify Flow and the customer record.
Example workflow ideas
Item Added to Wishlist → Add customer tag
wishlist-userItem Removed from Wishlist → Remove customer tag
wishlist-userif no other wished items remainPrice Drop on Wishlist Item → Send internal Slack alert to your retention team
Wishlist Item Low in Stock → Add customer tag
high-intentWishlist Item Back in Stock → Notify your team to prioritize follow-up campaigns in connected tools
Need help?
If you are not sure which file to edit, or you would rather have us handle the installation, contact our support team:
Email: [email protected]
Live chat: available from the app admin
Free onboarding 1:1 call