Import and export wishlist data
Overview
Wishlist Club lets you import and export wishlist data so you can move records from another app, restore saved wishlists after a store migration, bulk upload wishlist entries, or export data for reporting and marketing.
This page explains when to use import or export, how to prepare your file, and what to check if an import does not complete as expected.
When to import wishlist data
Importing is helpful when you need to add or restore wishlist records in bulk. Common situations include:
Migrating from another wishlist app so customers keep their saved products.
Moving to a new Shopify store and preserving wishlist data from the previous store.
Restoring records after app reinstallation, data loss, or store changes.
Bulk uploading customer wishlists instead of creating records one at a time.
Syncing from another system such as a CRM, spreadsheet, or internal database.
When to export wishlist data
Exporting is useful when you want to review, back up, or reuse your wishlist records outside the app. Common reasons include:
Creating a backup before making major store or app changes.
Analyzing wishlist activity for merchandising, reporting, or campaign planning.
Sharing data with your team for customer support, marketing, or operations.
Preparing for a migration to another store or platform.
Before a store migration or large data cleanup, export your current wishlist data first so you have a backup to reference if needed.
How to import wishlist data
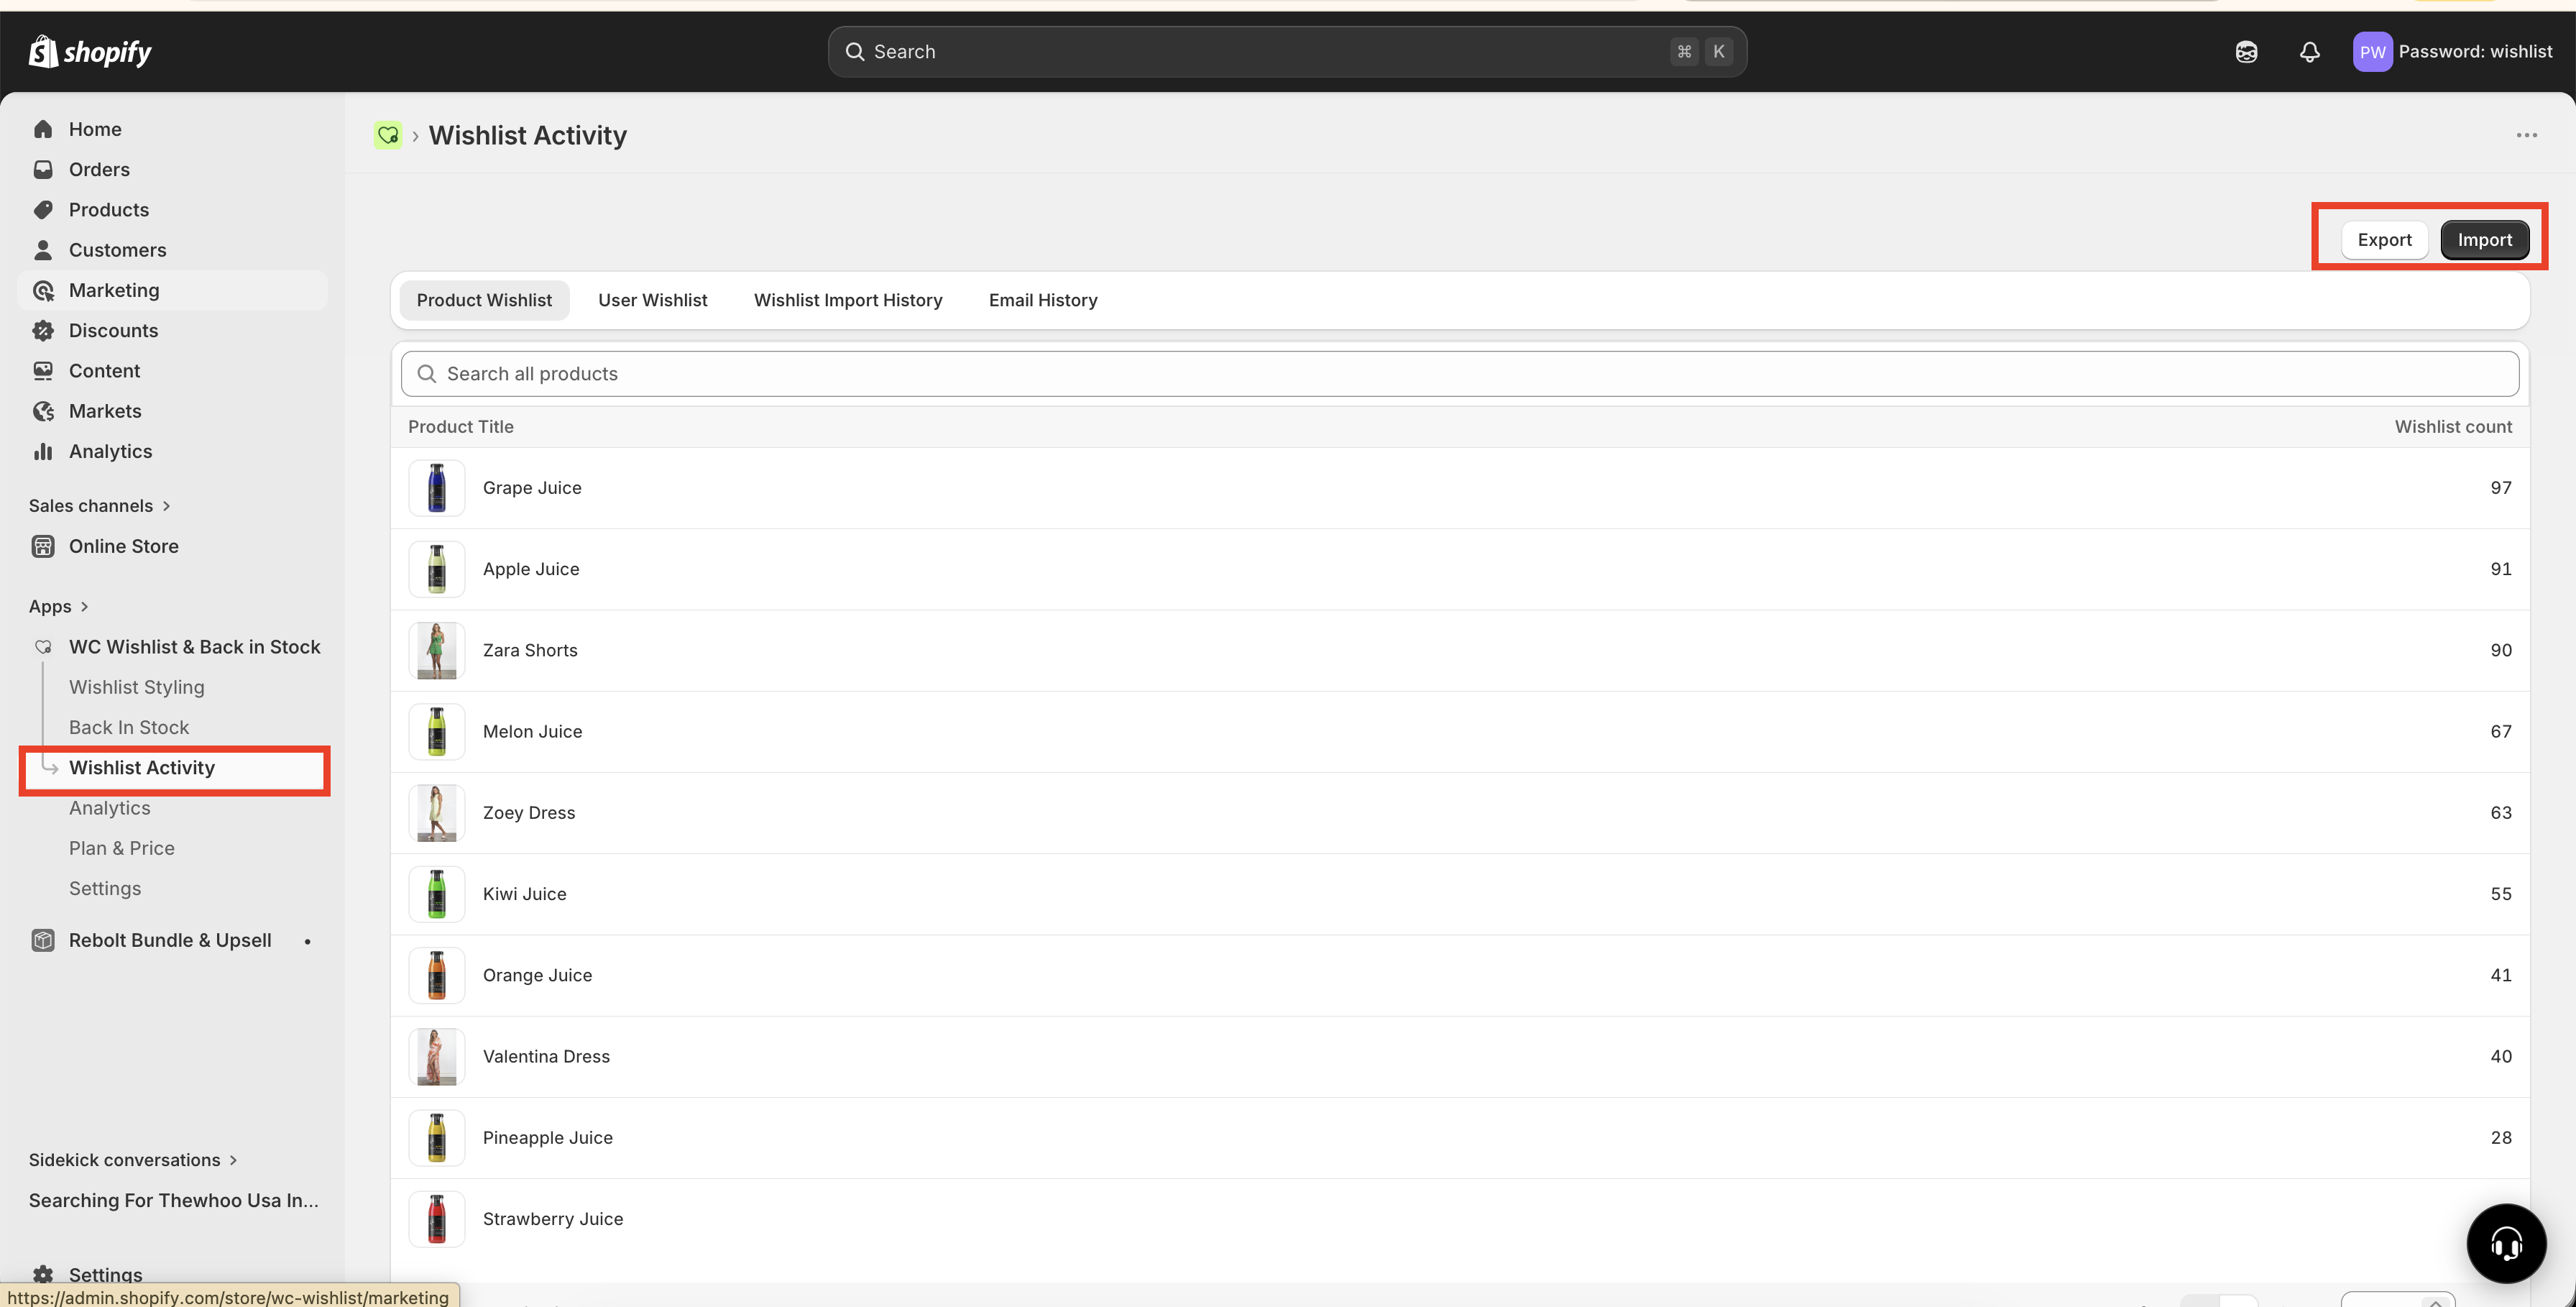
In Shopify admin, go to Apps → WC Wishlist & Back in Stock → Wishlist Activity → Wishlist Import History.
This screen shows your previous imports and lets you start a new one.
Download the sample CSV file →
The sample template shows the exact column order, field names, and formatting the app expects.
Use the sample template as your starting point and make sure your file is clean before uploading.
Enter data under the same column names used in the sample file.
Make sure customer email addresses are correct.
Make sure product identifiers match the products in your store.
Remove empty rows.
Remove duplicate entries unless you intentionally want repeated records.
Save the final file as
.csv, not.xlsxor.xls.
Click Import, choose your CSV file, and confirm the upload.
After the file is submitted, the import is added to your import history so you can track its progress.
Once processing finishes, check the import status in Wishlist Import History.
If the import completes successfully, the wishlist records will be added to the app. If there are issues, review your CSV formatting and data values, then correct the file and re-import.
CSV file preparation checklist
Use this checklist before uploading your import file:
The file is saved in
.csvformat.Column names match the sample template exactly.
Required fields are filled in.
Customer emails are valid and spelled correctly.
Product details match products in your Shopify store.
There are no unnecessary blank rows.
Duplicate records have been reviewed and removed where needed.
If your column names, file type, or product and customer data do not match the expected format, the import may fail or skip some rows.
How to export wishlist data
Use export when you need a copy of your wishlist data outside the app.
Open Apps → WC Wishlist & Back in Stock → Wishlist Activity.
Choose the export option available in your wishlist activity or data management area.
If filters are available, apply them first so your export includes the records you need.
Once the export is generated, download the file and save it in a secure location for reporting, backup, or migration use.
Exported files are especially useful before a migration, before bulk updates, or anytime you want to keep a backup of wishlist activity.
Best practices
Always use the sample CSV template instead of creating a file from scratch.
Test with a small file first if you are importing a large amount of data for the first time.
Keep a backup export before making major changes to existing records.
Check imported records after completion to confirm customer and product mappings look correct.
Clean your data before upload to avoid failed rows and duplicate entries.
Troubleshooting
Make sure the file is saved as .csv and not as an Excel file such as .xlsx or .xls. Also confirm that the column names match the sample template exactly.
Check for missing or incorrect customer emails, invalid product data, duplicate rows, or formatting differences from the sample CSV. Fix the affected rows and import the file again.
Export your data from the previous app first, then map it carefully into Wishlist Club’s sample CSV template before importing. Do not upload the old app’s export file without reformatting it to match the template.
Yes. Exporting first gives you a backup copy of your current wishlist data, which is helpful if you need to compare records or restore information later.
Need help?
If you are not sure which file to edit, or you would rather have us handle the installation, contact our support team:
Email: [email protected]
Live chat: available from the app admin
Free onboarding 1:1 call