How to set up your email sender name and address
Overview
Before any wishlist, back-in-stock, or price drop email reaches your customers, you need to choose who the email comes from. Your Email Configuration settings control the sender name and sender email address that appear in your customers’ inboxes.
Setting these details correctly helps customers recognize your brand, improves trust, and gives your emails a better chance of landing in the inbox instead of the spam folder.
These sender settings apply to all app notification emails unless a specific email template says otherwise.
How to access Email Configuration
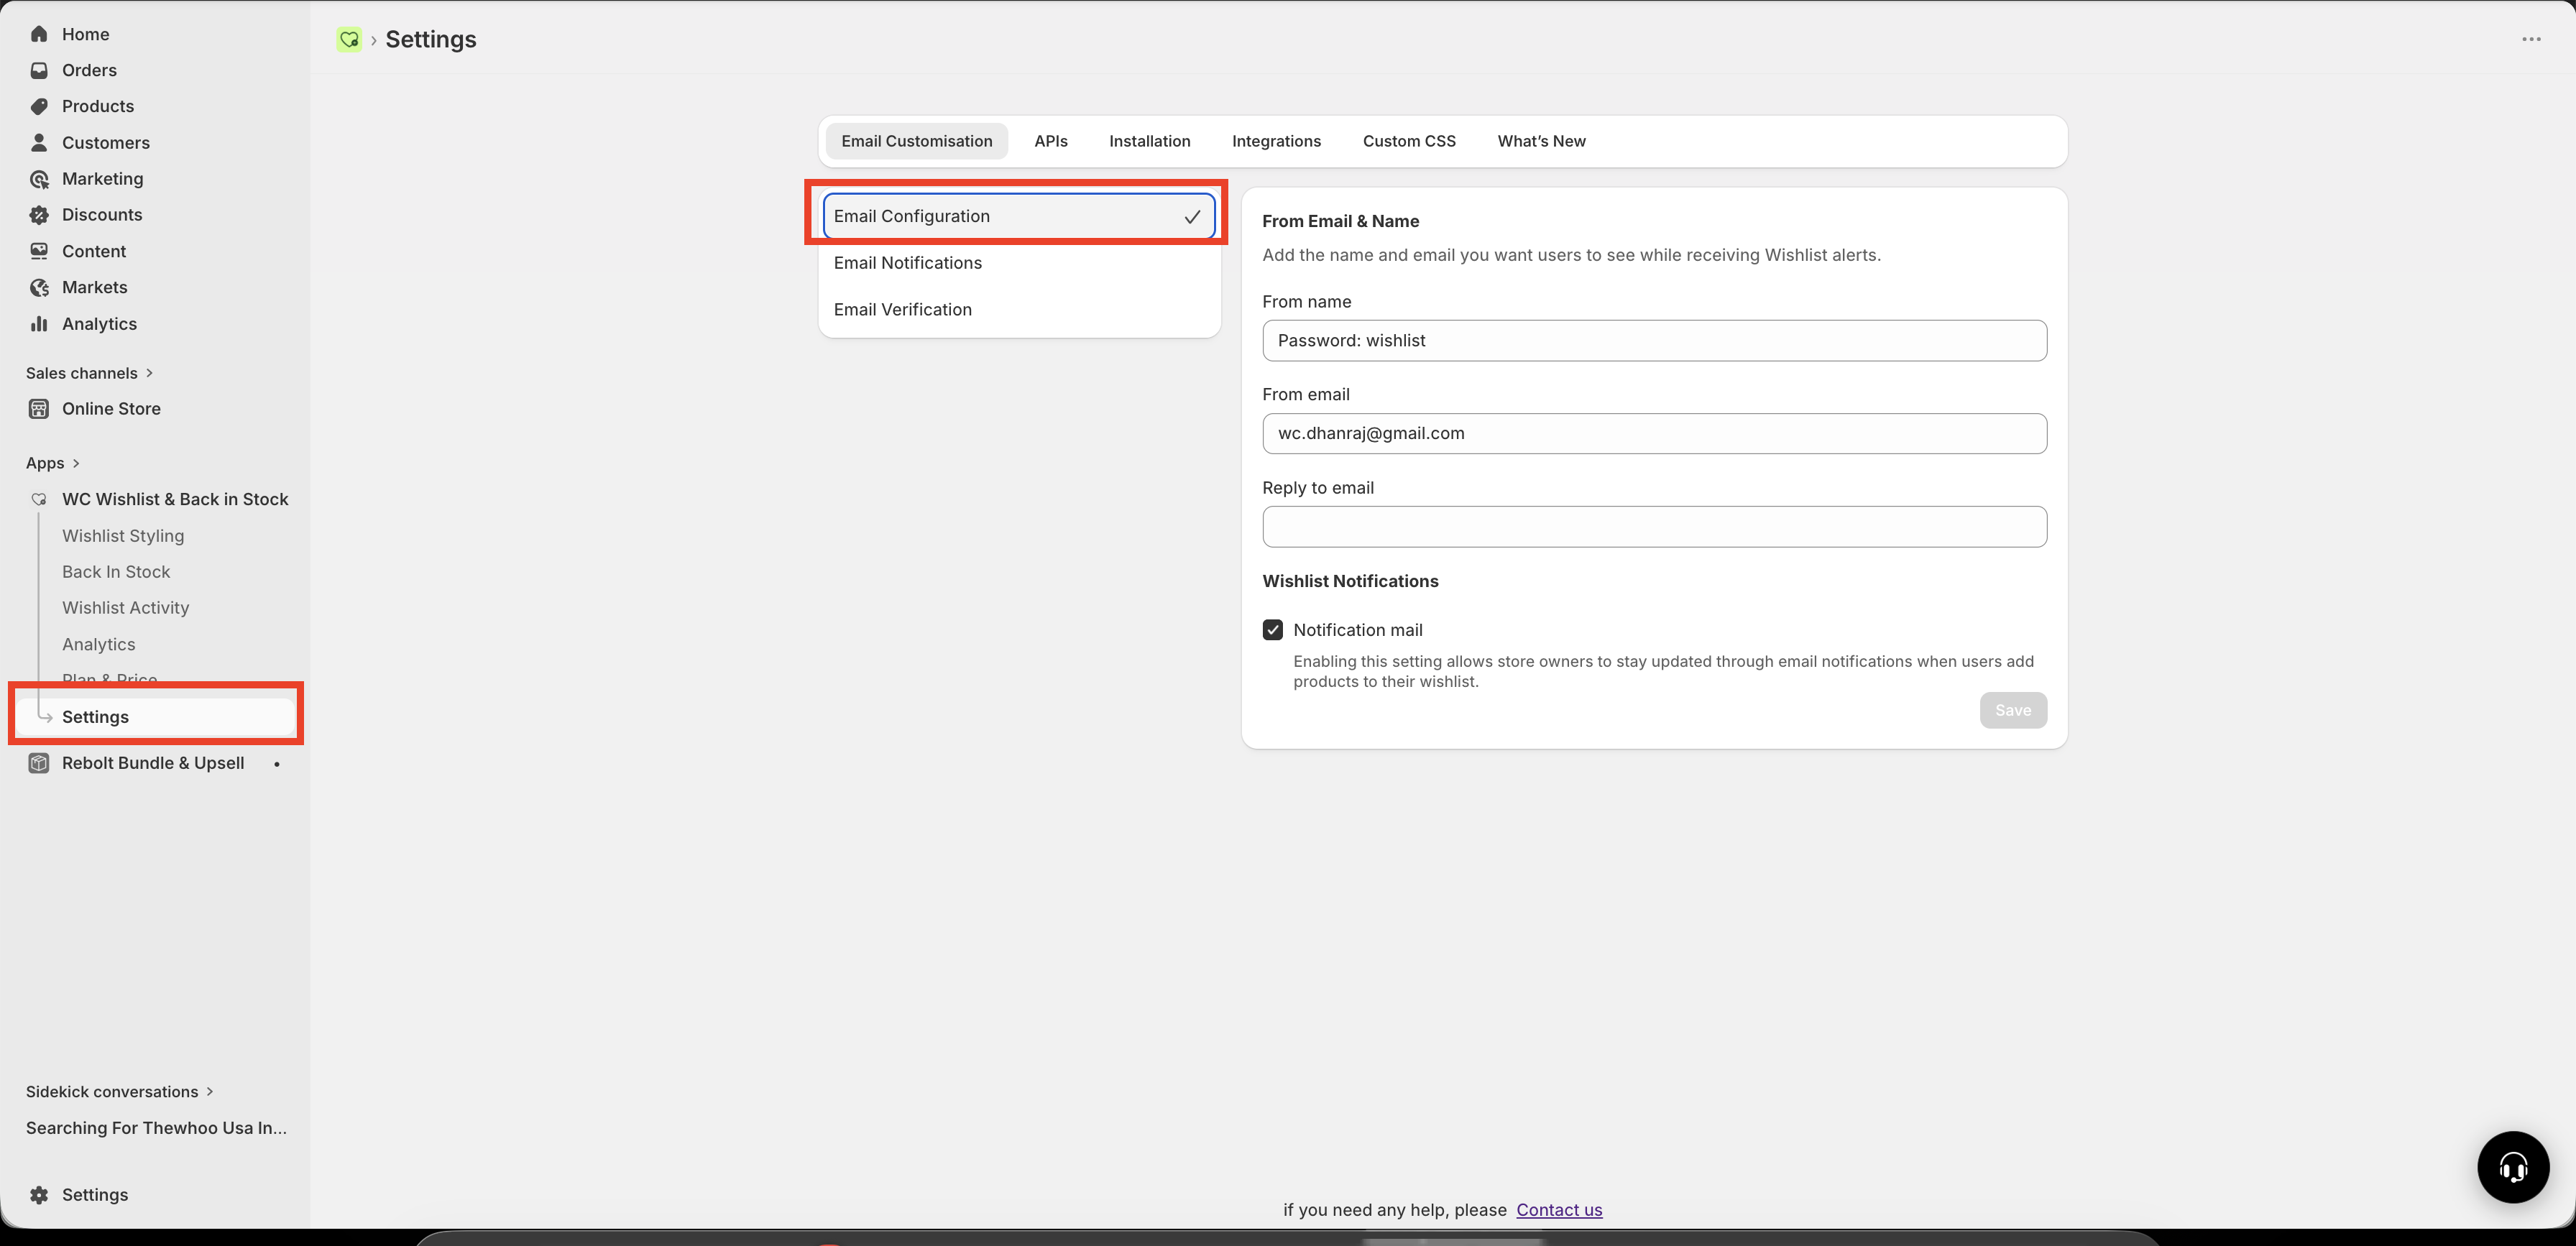
In Shopify, go to Apps → WC Wishlist & Back in Stock.
Open Settings.
Select Email Customization.
Open Email Configuration to update your sender name and email addresses.
What each setting means
From Name
This is the name customers see as the sender in their inbox.
Use your store name or brand name so customers immediately know the email is from you.
Good examples: Freshleaf Store, The Plant Co., Nord Apparel
Avoid: noreply, admin, support team, or anything vague that does not clearly identify your brand
Keep your From Name consistent across all customer emails. When the sender name always matches your store name, customers are more likely to open your emails.
From Email
This is the email address used to send your app notifications.
For best results, use an address on your own domain, such as [email protected] or [email protected].
Good examples:
[email protected],[email protected]Avoid: free email addresses such as
[email protected]or[email protected]
Using a free email address as your sender address can hurt deliverability and make your emails more likely to be flagged as spam.
Reply-To Email (optional)
This is the address that receives customer replies.
If you leave this blank, replies will go to your From Email address.
Use this field when you want to send from one address but receive replies somewhere else, such as a support inbox.
Example: send from
[email protected]and receive replies at[email protected]
Recommended setup
If you want a simple, reliable setup, use:
From Name: your store or brand name
From Email: a branded email address on your domain
Reply-To Email: your support inbox, if different from the sending address
Example:
From Name: The Plant Co.
From Email:
[email protected]Reply-To Email:
[email protected]
How to choose the best sender details
Use a sender name customers already recognize from your storefront, order emails, or marketing emails.
Use a real inbox that belongs to your store domain.
Avoid names or addresses that look automated or generic.
Make sure someone monitors the reply inbox if customers may respond with questions.
Best practices for deliverability
Use a branded email address such as
[email protected]instead of a free email provider.Keep your sender name consistent so customers recognize your emails immediately.
Set up your domain authentication records, such as SPF and DKIM, if your email provider supports them.
Test your emails after making changes to confirm they look correct and arrive as expected.
Review your spam or promotions folder during testing so you can catch deliverability issues early.
If you are not sure whether your domain email is fully set up, contact your domain host or email provider before using it for customer notifications.
Test your email settings
After updating your sender details, send a test email from one of your email notification settings panels.
When you review the test email, check:
the sender name displays correctly
the sender email address matches your brand
replies go to the correct inbox
the email arrives in the inbox and not the spam folder
Important notes
All notification emails sent by the app use these sender settings, including wishlist reminders, back-in-stock alerts, and price drop notifications.
If you change your sender details, the update affects future emails only. Emails already sent will not be changed.
Troubleshooting
Start by checking your From Email address. If you are using a Gmail, Yahoo, or other free email address, switch to an address on your own domain.
Also make sure your domain’s email authentication records are set up correctly, and send another test email after updating them.
Update your From Name to match your store name or brand name exactly. Avoid generic names like admin, team, or noreply.
Check the Reply-To Email field. If it is blank, replies go to your From Email address. Add your support inbox there if you want replies routed differently.
That is expected. Changes apply only to emails sent after you save the new configuration.
Need more help?
If you need help getting the wishlist button to appear correctly, contact our team:
Email: [email protected]
Live chat: available from the app admin
Onboarding: book a free 1:1 onboarding call